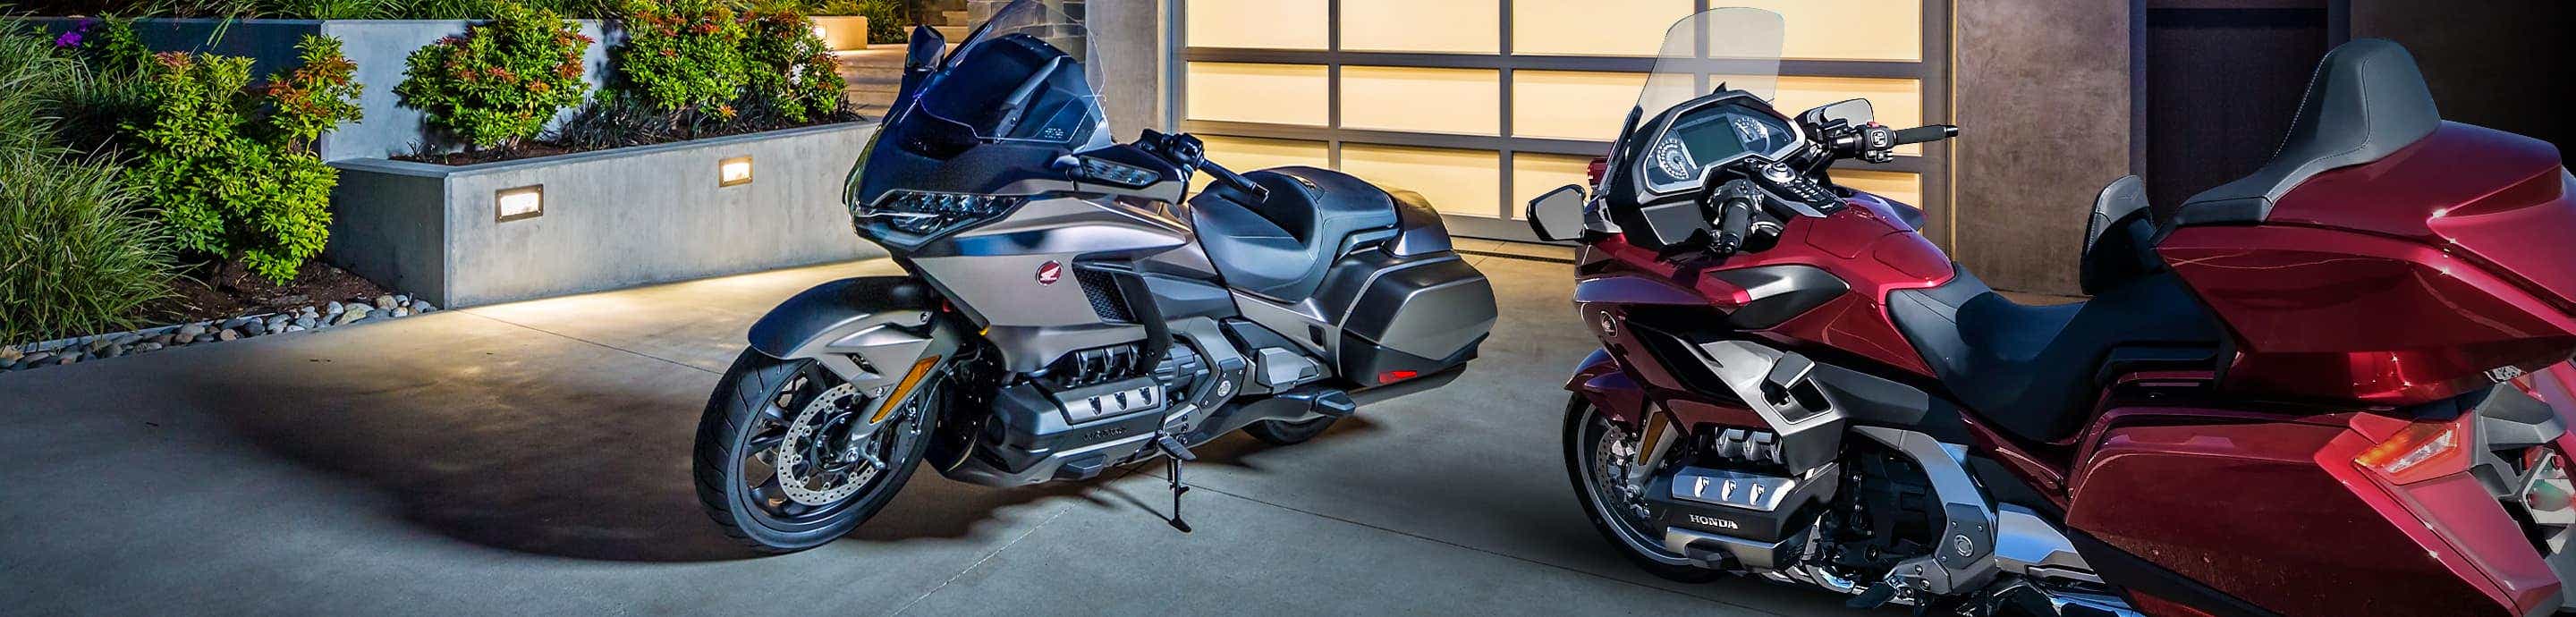

This install requires no modification to any plastic body panel, no panel removal, and no handlebar mounting. It’s as if mother Honda collaborated with Valentine to allow for an install the V1 Gen2 perfectly, and it’s out of the weather too! Temporarily removing the windshield will give you easier access to the vent slot, but not necessary.
There is a perfect size cavity for the radar detector just above the headlight as seen in front of the suspension. A twist of the handlebars in either direction allows ample room for even the biggest hands to work in this area. A small piece of foam holds the excess wiring snugly in place.
The concealed display head fits perfectly and securely under the raised dash vent. A 36” white zip tie is useful in feeding the power cord through the vent slot, and behind the infotainment display. Similar to how you would use fish tape to feed a wire. You will see the white colored zip tie and power cord reveal itself better than a black one, when fishing it out behind the dark dash area. Now that the fished power cord is within reach, connect the stripped colored wires into the RJ11 adapter. Plug your V1 ACC wire into the newly made RJ11 female end. Done!
(there is an aftermarket V1 conceal display module available that is thinner but it is not necessary. The Valentine OEM concealed display dimensions make it fit PERECTLY in this location. The Valentine display locks firmly in place if it is pushed back behind the vent latch, as pictured. The OEM display is less expensive too.)
You will need…
- Valentine V1Gen2 radar detector (hard wire power/accessory adapter included with purchase)
- Valentine V1Gen2 Concealed Display
- RJ11 adapter as shown (Amazon)
- 36 inch white zip tie (hardware store)